Build the Muffsy Phono Preamp Back Panel
NOTE:
If you bought your kit on 2016-11-13 or later, you have received the new back panel. Please follow these instructions instead.
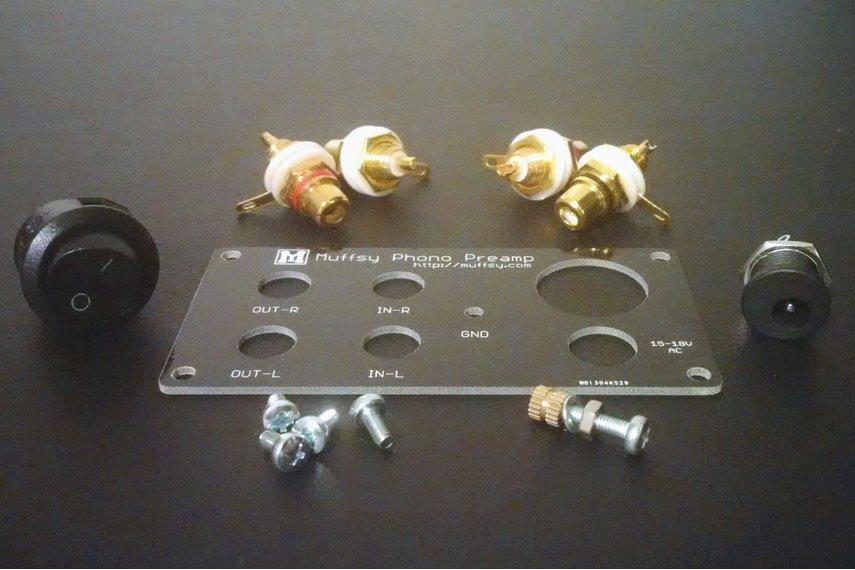
The options are endless when it comes to housing the Muffsy Phono Preamp, this is what you usually need though:
- Power Jack
- Power Button
- Inputs
- Outputs
- Ground Screw
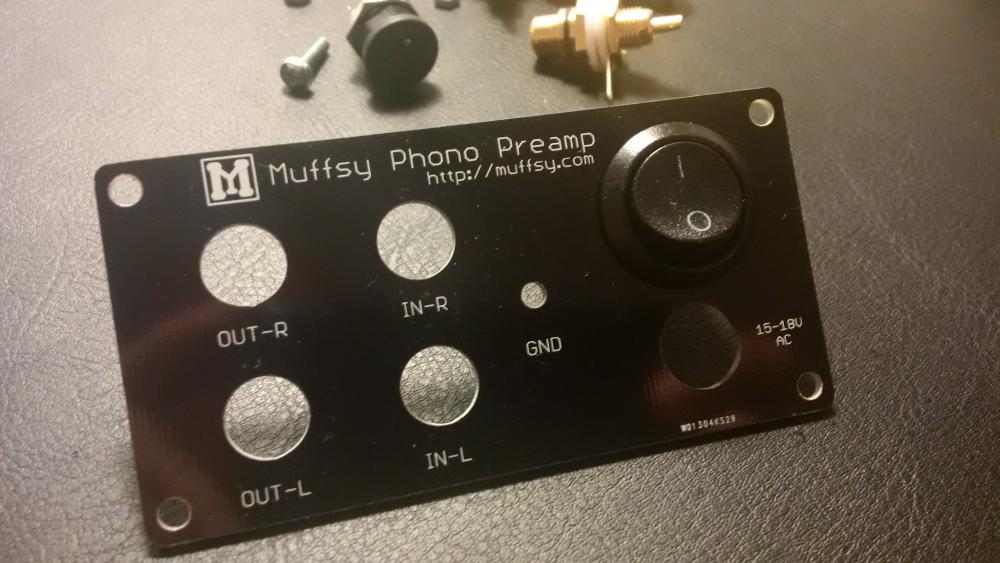
The Muffsy Back Panel fits the B0905 enclosure (which is easily found on eBay) perfectly. There is no need to drill or modify the cabinet. It comes complete with every component needed:
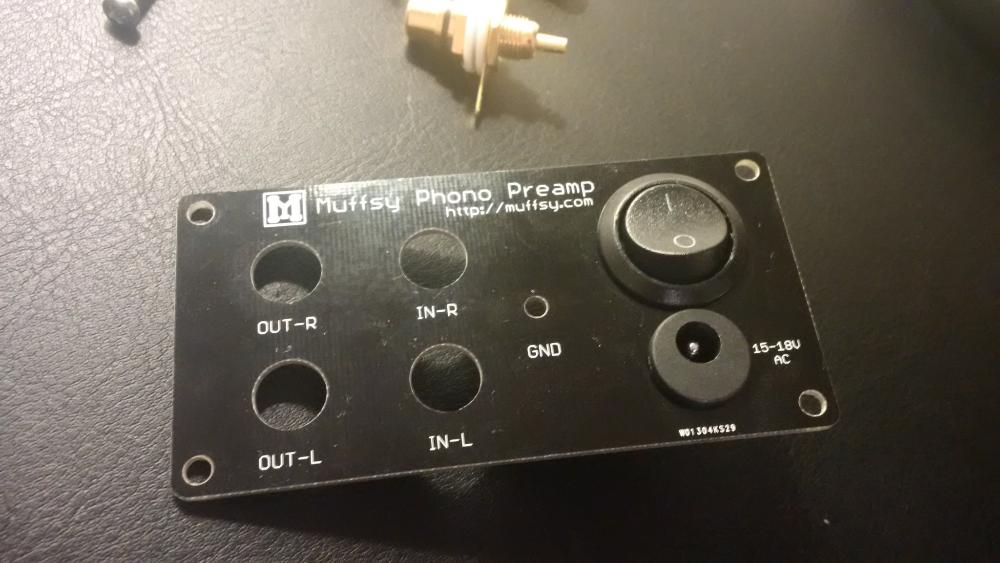
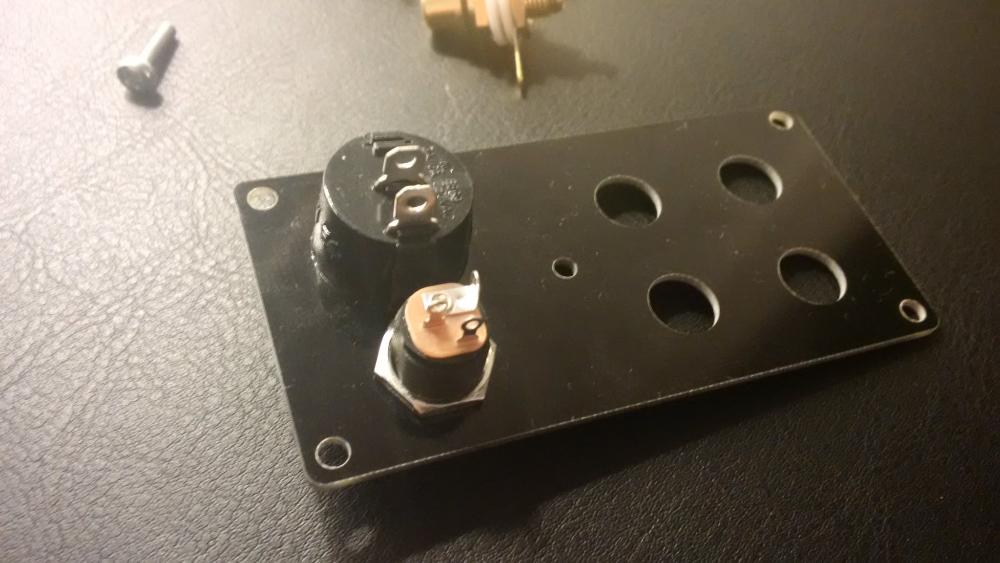
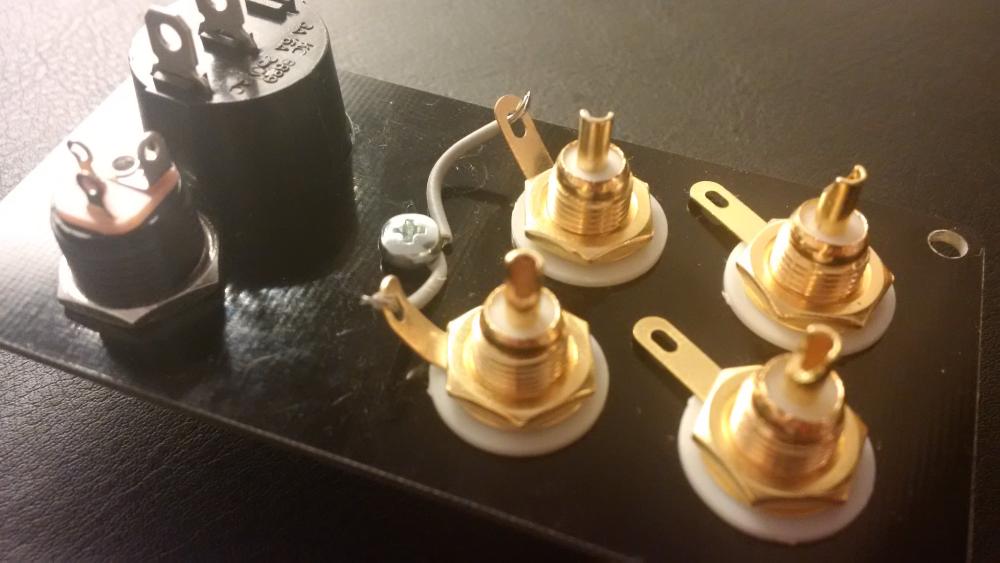
Step 1: Install the Power Button
The first component to be mounted on the back panel is the power button. It's a tight fit, but that's needed to make it stay in place.
Step 2: Install the Power Jack
The power jack goes in next. Use the nut to fasten the connector. One of the pins on the backside looks different from the others, make that pin is on top.
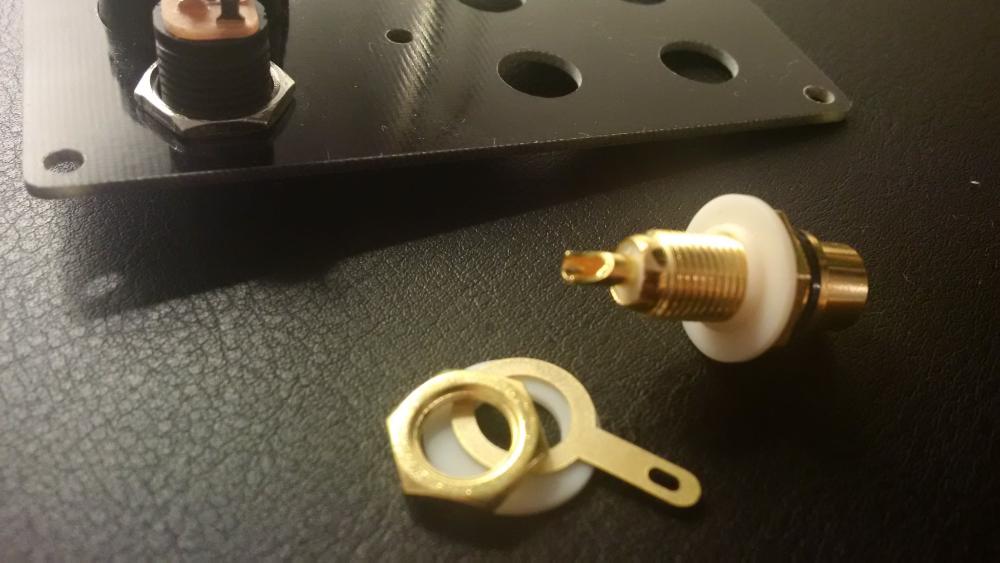
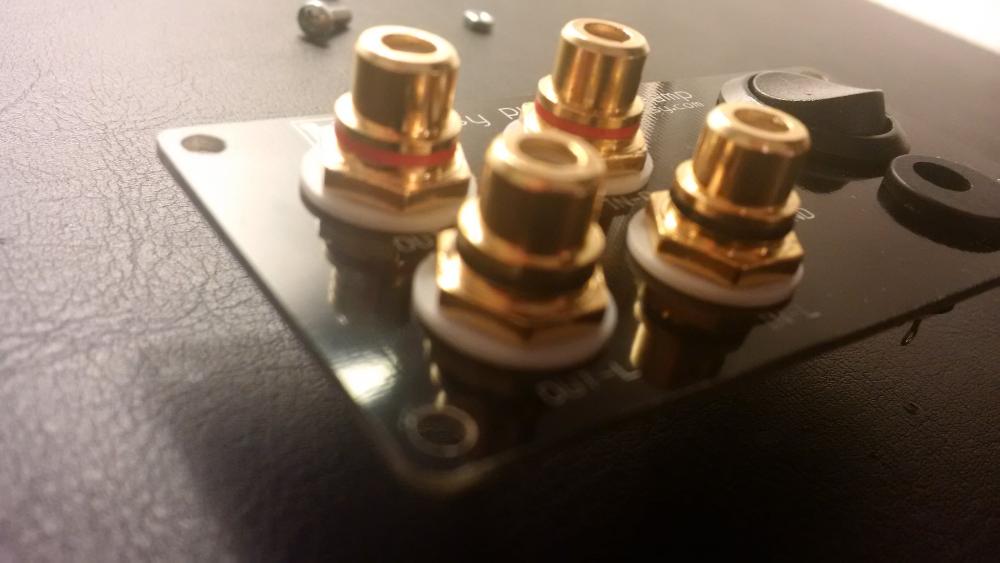
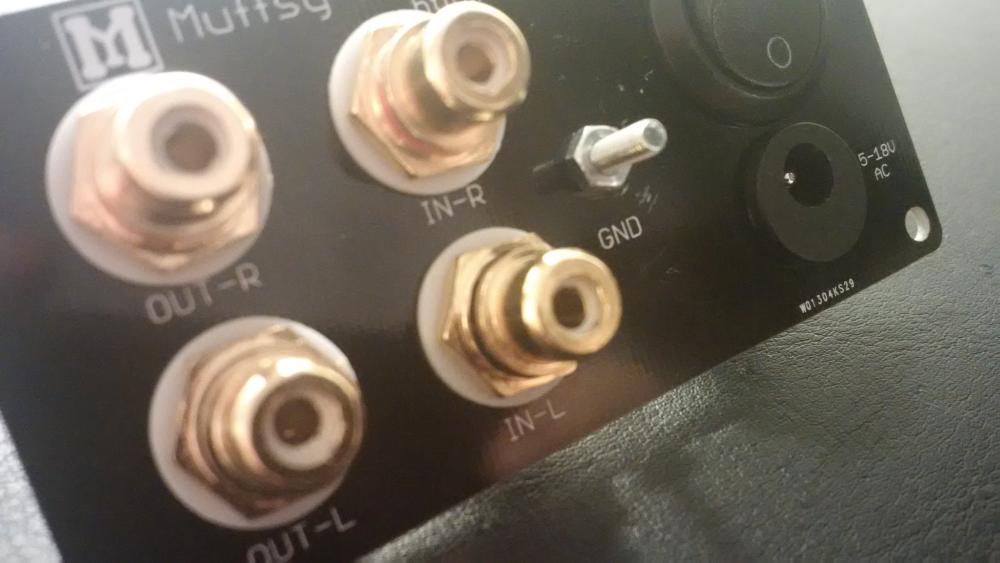
Step 3: Install the RCA Connectors
Insert the RCA connector, with one plastic shim into the side of the back panel that has text on it. Add the other plastic shim to the backside, followed by the metal ring with the pin. Fasten with the nut.
NOTE: Color does matter here. RED is RIGHT, BLACK is LEFT. The correct placement of all connectors is shown in the pictures below.
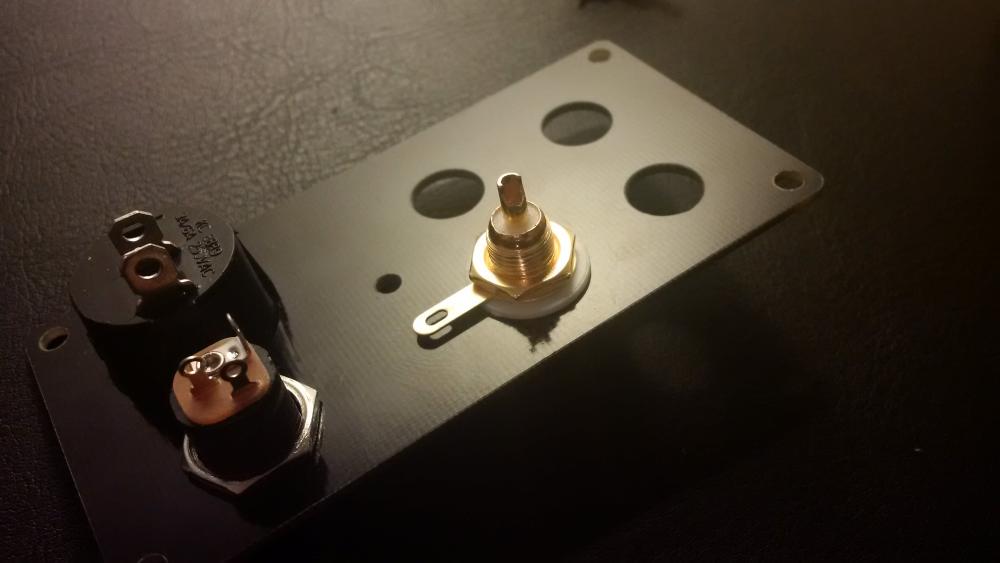
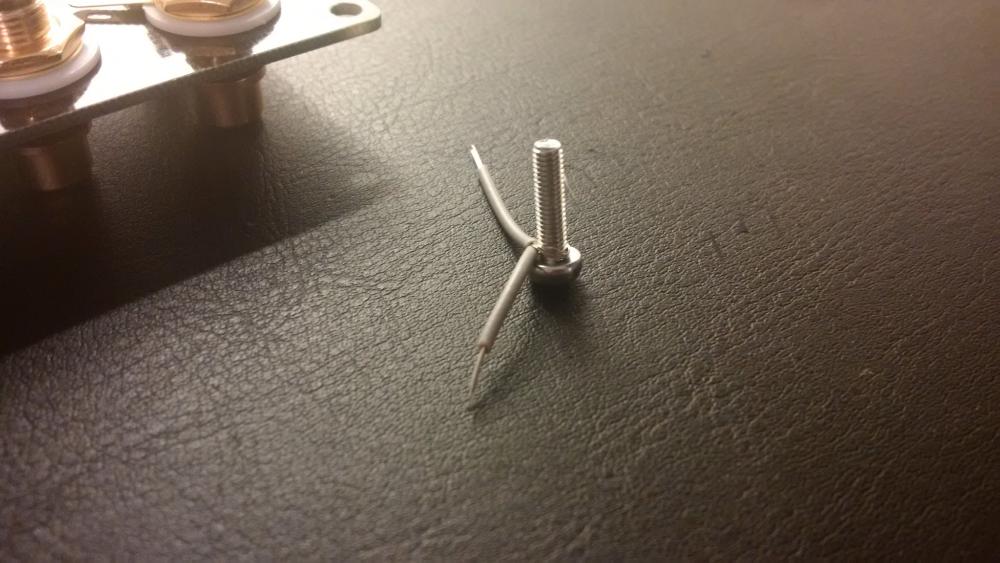
Step 4: Mount the Ground Screw (and the first ground cable)
Before mounting the ground screw, take a piece of cable (0.5mm / 20 AWG is suitable) and strip it in the middle and on both ends like this:
Twist the middle of the ground cable around the ground screw, like this:
Insert the ground screw from the back of the panel, position the cable against the ground pins on the RCA connectors:
Fasten the ground screw tightly on the other side of the back panel. (Be careful not to scratch the back panel like I did.)
Insert the shim, and screw the thumb nut loosely on the ground screw:
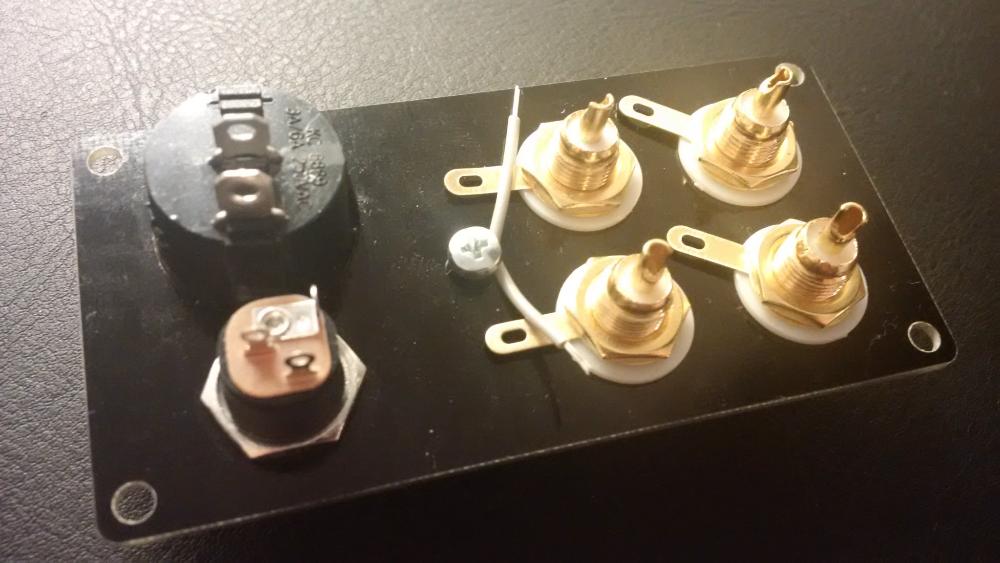
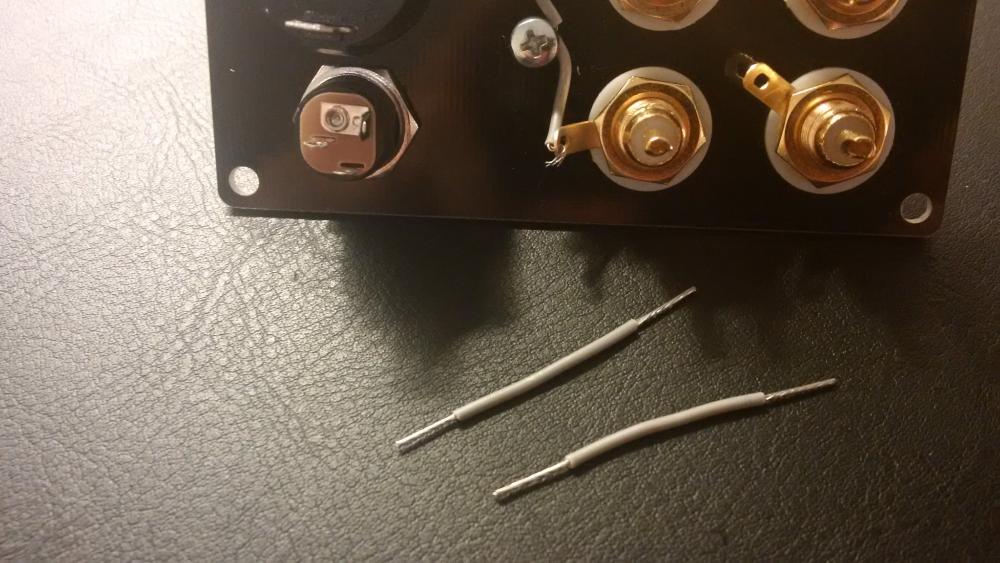
Step 5: Complete the Ground Wiring
The final part of building the back panel is to connect the ground on all four RCA connectors to the ground screw. First, connect the ground screw with the two INPUT RCA connectors:
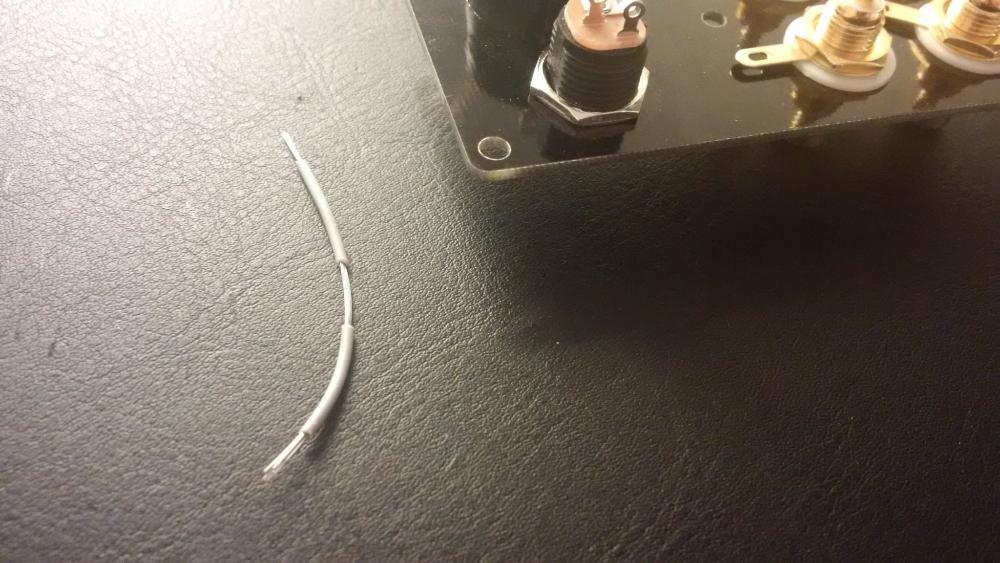
Two more cables are needed to connect all four RCA connectors together. Cut these two pieces of wire and strip both ends:
Connect the final two ground cables as shown on the picture, and solder them all together:
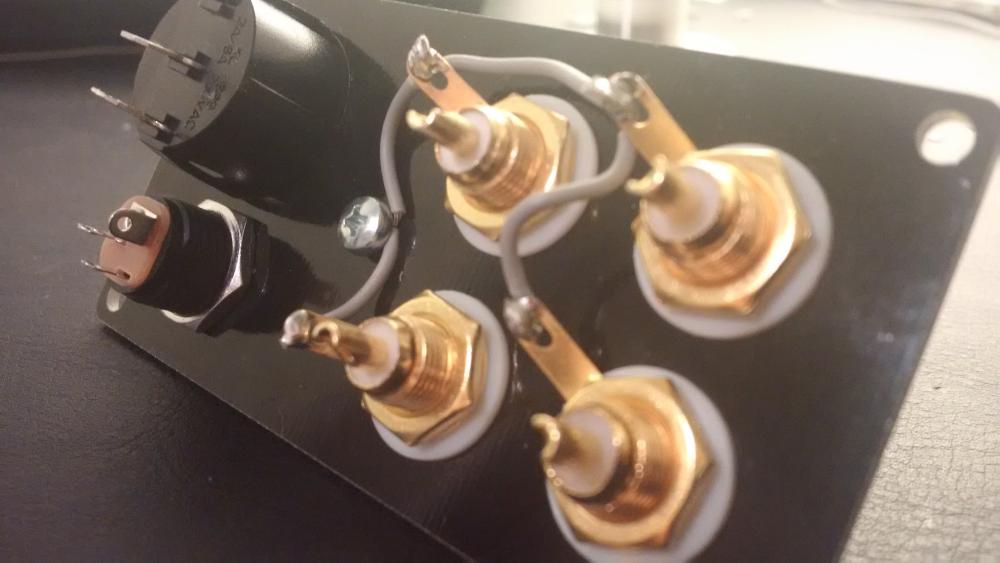
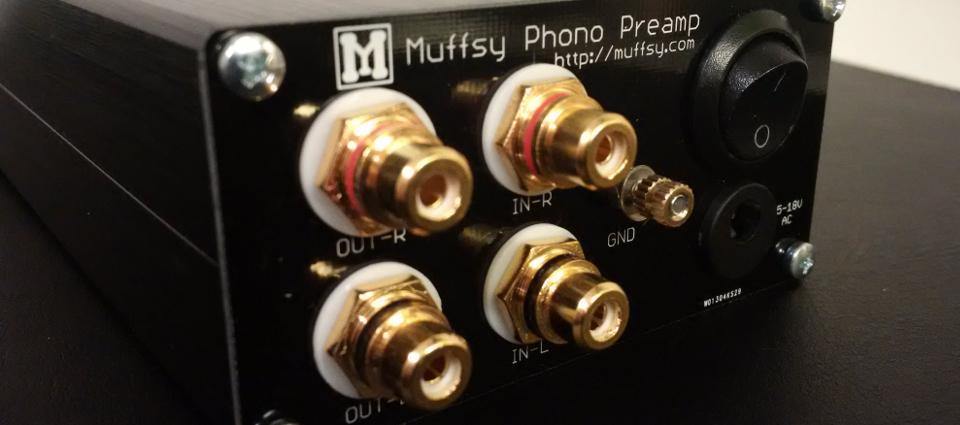
Construction Complete
That's one way of building a back panel for the Muffsy Phono Preamp. Even if you're not using the Muffsy Back Panel, the principles are the same.
To complete your phono stage, continue to the instructions below: